Tutorials
How to install a theme in WordPress step by step
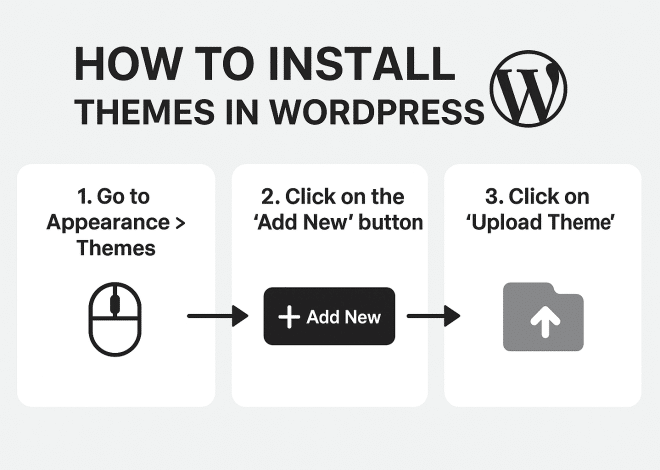
How to install a theme in WordPress step by step Installing a WordPress theme can transform your website’s look and feel. It’s a simple process that anyone can master. Whether you’re a beginner or a seasoned pro, this guide will help you. We’ll walk you through each step to ensure a smooth installation. WordPress offers thousands of themes to choose from. You can find both free and premium options to suit your needs. Before diving in, it’s important to understand the basics. Knowing how to install a WordPress theme is crucial for customizing your site. Let’s explore the steps to install a theme in WordPress, making your site stand out. What is a WordPress Theme? A WordPress theme is a collection of files that defines your website’s design and layout. It controls everything from colors to font styles and overall site aesthetics. Themes offer much more than just a design template. They provide functionalities and customization options, enhancing user experience and site performance. Key features of a WordPress theme include: Page layouts and templates. Custom widgets and sidebars. Responsive and mobile-friendly designs. WordPress themes cater to different niches and industries. With a vast array of options, you can create a website that perfectly matches your vision. Things to Consider Before You Install a WordPress Theme Before installing a WordPress theme, it’s crucial to have a plan. Choosing the right theme depends on your site’s purpose and target audience. Always check theme compatibility with your current WordPress version. This ensures seamless integration without glitches. Consider mobile responsiveness. Many visitors use mobile devices, so a mobile-friendly theme is essential. Evaluate the theme’s features and customization options. Make sure it aligns with your content and future expansions. Here are important aspects to examine: User ratings and reviews. Support for essential plugins. Regular updates for security. Lastly, ensure you have a current backup of your site. This provides a safety net if anything goes wrong during installation. Taking these steps can help avert potential problems and ensure a smooth theme installation process. Method 1: Install a Theme from the WordPress Theme Directory The simplest way to install a WordPress theme is via the WordPress Theme Directory. It is an intuitive approach, ideal for both novices and experts. First, log in to your WordPress dashboard. Navigate to Appearance in the sidebar and click on Themes. Once on the Themes page, click the Add New button at the top. This takes you to the official WordPress Theme Directory. Here, you can browse through thousands of themes. Use the search bar or filters to narrow down options. Consider the following when selecting a theme: Design that matches your brand. Features you need for your site. Ratings and user feedback. Preview a theme to see its real-time impact on your website. Click the Preview button for a glimpse before committing. When satisfied, click Install. WordPress will handle the installation process for you. This is straightforward and should be completed in minutes. Once installed, you can activate the theme directly. The theme will instantly apply, transforming your site’s appearance. With this method, you can explore numerous themes efficiently, altering your site’s design as needed. Method 2: Upload a Theme in .zip Format via WordPress Dashboard If you have purchased a premium theme or downloaded a theme from a third-party site, you’ll likely have it in a .zip file. Uploading a theme via the WordPress dashboard is a straightforward process. Start by logging into your WordPress admin panel. Navigate to Appearance and select Themes. In the Themes section, click on Add New. Instead of searching, you’ll upload your theme. At the top, you’ll notice an Upload Theme button. Click it to proceed. Now, you’ll see a browse option. Click Choose File and select the .zip file of your theme from your computer. Click on Install Now after selecting the file. WordPress will upload and unpack the theme. Once the theme is uploaded, you will see a success message with options to Activate, Live Preview, or return to the Themes page. Here’s a quick checklist to consider: Verify the theme file size is within the server limits. Ensure the file is indeed a .zip. Double-check for any theme-specific installation instructions. Following these steps, you can easily install your new theme, adding a unique flavor to your WordPress site. Method 3: Install a WordPress Theme via FTP or File Manager Sometimes, using FTP or your hosting’s File Manager is the best option for installing a WordPress theme. This method allows more control over the files. First, you need an FTP client like FileZilla. Download and install it on your computer. Next, access your server by connecting through FTP using your server’s credentials. Obtain these credentials from your hosting provider if needed. Navigate to the /wp-content/themes/ directory in the remote site panel. On your local machine, unzip the theme file you downloaded. Extract it into a folder with the theme’s name. […]

