
How to install a theme in WordPress step by step
How to install a theme in WordPress step by step
Installing a WordPress theme can transform your website’s look and feel. It’s a simple process that anyone can master.
Whether you’re a beginner or a seasoned pro, this guide will help you. We’ll walk you through each step to ensure a smooth installation.
WordPress offers thousands of themes to choose from. You can find both free and premium options to suit your needs.
Before diving in, it’s important to understand the basics. Knowing how to install a WordPress theme is crucial for customizing your site.
Let’s explore the steps to install a theme in WordPress, making your site stand out.
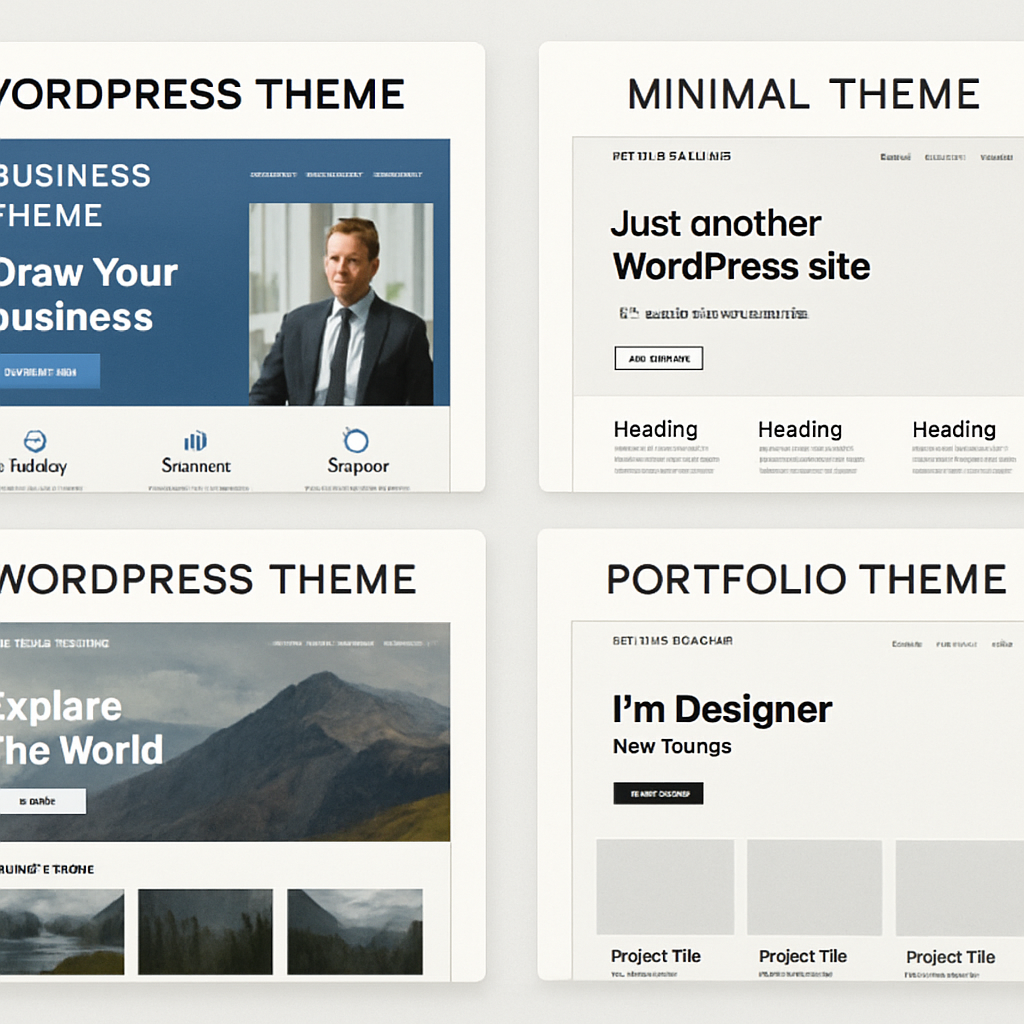
What is a WordPress Theme?
A WordPress theme is a collection of files that defines your website’s design and layout. It controls everything from colors to font styles and overall site aesthetics.
Themes offer much more than just a design template. They provide functionalities and customization options, enhancing user experience and site performance.
Key features of a WordPress theme include:
- Page layouts and templates.
- Custom widgets and sidebars.
- Responsive and mobile-friendly designs.
WordPress themes cater to different niches and industries. With a vast array of options, you can create a website that perfectly matches your vision.
Things to Consider Before You Install a WordPress Theme
Before installing a WordPress theme, it’s crucial to have a plan. Choosing the right theme depends on your site’s purpose and target audience.
Always check theme compatibility with your current WordPress version. This ensures seamless integration without glitches.
Consider mobile responsiveness. Many visitors use mobile devices, so a mobile-friendly theme is essential.
Evaluate the theme’s features and customization options. Make sure it aligns with your content and future expansions.
Here are important aspects to examine:
- User ratings and reviews.
- Support for essential plugins.
- Regular updates for security.
Lastly, ensure you have a current backup of your site. This provides a safety net if anything goes wrong during installation. Taking these steps can help avert potential problems and ensure a smooth theme installation process.
Method 1: Install a Theme from the WordPress Theme Directory
The simplest way to install a WordPress theme is via the WordPress Theme Directory. It is an intuitive approach, ideal for both novices and experts.
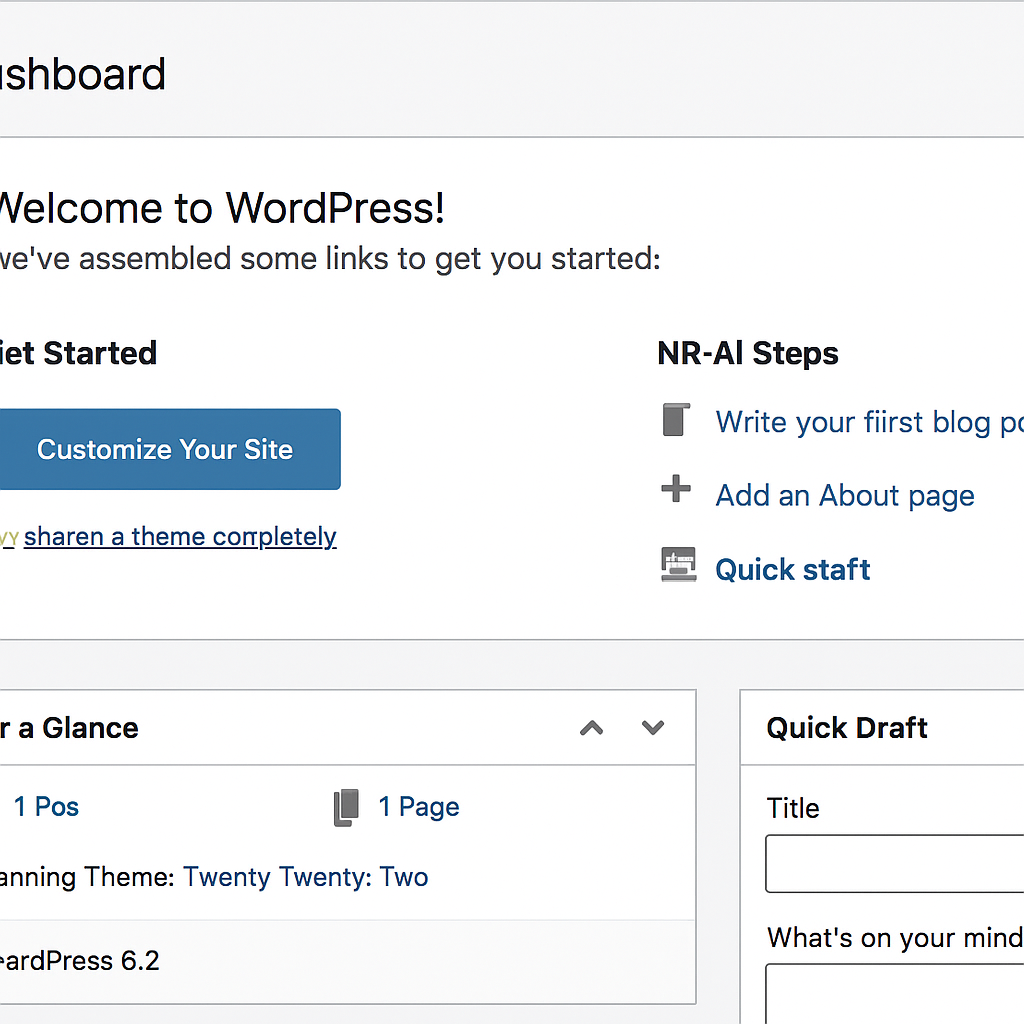
First, log in to your WordPress dashboard. Navigate to Appearance in the sidebar and click on Themes.
Once on the Themes page, click the Add New button at the top. This takes you to the official WordPress Theme Directory.
Here, you can browse through thousands of themes. Use the search bar or filters to narrow down options.

Consider the following when selecting a theme:
- Design that matches your brand.
- Features you need for your site.
- Ratings and user feedback.
Preview a theme to see its real-time impact on your website. Click the Preview button for a glimpse before committing.
When satisfied, click Install. WordPress will handle the installation process for you. This is straightforward and should be completed in minutes.

Once installed, you can activate the theme directly. The theme will instantly apply, transforming your site’s appearance. With this method, you can explore numerous themes efficiently, altering your site’s design as needed.
Method 2: Upload a Theme in .zip Format via WordPress Dashboard
If you have purchased a premium theme or downloaded a theme from a third-party site, you’ll likely have it in a .zip file. Uploading a theme via the WordPress dashboard is a straightforward process.
Start by logging into your WordPress admin panel. Navigate to Appearance and select Themes.

In the Themes section, click on Add New. Instead of searching, you’ll upload your theme.
At the top, you’ll notice an Upload Theme button. Click it to proceed.

Now, you’ll see a browse option. Click Choose File and select the .zip file of your theme from your computer.
Click on Install Now after selecting the file. WordPress will upload and unpack the theme.
Once the theme is uploaded, you will see a success message with options to Activate, Live Preview, or return to the Themes page.
Here’s a quick checklist to consider:
- Verify the theme file size is within the server limits.
- Ensure the file is indeed a .zip.
- Double-check for any theme-specific installation instructions.
Following these steps, you can easily install your new theme, adding a unique flavor to your WordPress site.
Method 3: Install a WordPress Theme via FTP or File Manager
Sometimes, using FTP or your hosting’s File Manager is the best option for installing a WordPress theme. This method allows more control over the files.
First, you need an FTP client like FileZilla. Download and install it on your computer.
Next, access your server by connecting through FTP using your server’s credentials. Obtain these credentials from your hosting provider if needed.
Navigate to the /wp-content/themes/ directory in the remote site panel.
On your local machine, unzip the theme file you downloaded. Extract it into a folder with the theme’s name.
Drag and drop this theme folder from the local site panel to the remote site, within the themes directory.
After the upload completes, head back to the WordPress admin panel. Go to Appearance > Themes and look for your newly uploaded theme.
Remember these points when using FTP:
- Ensure FTP connection settings are correct.
- Have patience with upload times; they can vary.
- Regularly check for upload errors during the process.
This method ensures your theme files are transferred accurately, ready to be activated.
How to Activate and Preview Your New Theme
Once you’ve installed your theme, it’s time to activate it. Begin by navigating to Appearance > Themes in the WordPress dashboard.
Here, you’ll see your newly installed theme among others. To activate it, simply click the Activate button.
Want to ensure everything looks great before going live? Use the Live Preview option. This lets you view your site with the new theme without affecting the live version.

Remember these steps to successfully activate and preview your theme:
- Locate and open the Themes section.
- Use Activate to apply the theme.
- Utilize Live Preview for a sneak peek.
Previewing ensures your design aligns with your expectations. It helps catch any layout issues early on.
Setting Up and Customizing Your Installed Theme
After activating your theme, customization is key. Head to Appearance > Customize in the WordPress dashboard to access the customization panel.
You can adjust colors, fonts, and layout settings from here. Each theme offers different customization options, so explore each setting thoroughly.
Many themes come with their own dedicated customization interface. This offers more features than the default WordPress Customizer.

Ensure you review the following aspects for a cohesive look:
- Update the site title and tagline.
- Choose a color scheme that matches your brand.
- Configure the menu for easy navigation.
Don’t forget to check if your theme provides widgets or additional layout options. These extras can enhance the design and functionality of your site.
Finally, save and publish your changes. This ensures your customizations are live and visible. Customization helps tailor your theme to your unique needs and vision.
Best Practices After Installing a WordPress Theme
Once your theme is installed, it’s crucial to follow best practices. These ensure your site remains secure and effective.
Begin by updating any theme-related settings. This includes configuring your homepage and ensuring widgets are placed correctly.
Regularly update your theme for new features and security patches. This helps maintain performance and avoid vulnerabilities.
Deactivate unused themes to keep your site organized. This also reduces potential security risks from outdated themes.
Consider the following checklist for ongoing theme management:
- Back up your site regularly.
- Test for compatibility with new plugins.
- Review your site’s mobile responsiveness.
By adhering to these practices, you ensure a smooth and trouble-free experience for both you and your visitors.
Troubleshooting Common Theme Installation Issues
Even with care, theme installation sometimes faces hitches. Knowing how to address them saves time.
One common issue is a “broken theme” error. This often occurs due to missing files. Check if the theme is fully uploaded.
If your site looks off after theme activation, verify compatibility with installed plugins. Incompatibilities can alter layouts or functionality.
Follow these troubleshooting tips:
- Clear your browser cache after installation.
- Ensure your WordPress version supports the theme.
- Reinstall the theme if problems persist.
By identifying and resolving these issues, you ensure a seamless theme experience. Keep these tips handy for future installations.
Frequently Asked Questions About Installing WordPress Themes
Many WordPress users have questions about themes. Here are some common inquiries and answers.
How do I know if a theme is compatible? Check the theme’s specifications. Ensure it’s compatible with your WordPress version.
Can I switch themes without losing content? Yes, your content stays intact. However, theme-specific settings may need adjustments.
Is it safe to use free themes? Absolutely, if from reputable sources. Avoid themes that aren’t verified by the WordPress directory.
What’s a child theme? A child theme allows customization without altering the original files. It’s great for easy edits.
How often should I update themes? Regularly. Updates often include security fixes and new features.
To summarize:
- Verify theme compatibility and source.
- Use child themes for safe customization.
- Keep all themes up-to-date for security.
These points cover most concerns about installing WordPress themes. Proper understanding enhances your site’s functionality.
Final Tips and Resources for WordPress Theme Installation
Installing a WordPress theme should be a smooth process. Use the right tools and follow recommended guidelines for best results. Keep your WordPress site updated and secure.
Here are a few tips:
- Back up your website before making changes.
- Test new themes on a staging site.
- Use the WordPress Codex for extra guidance.
For more resources, the WordPress Theme Handbook is a treasure trove of information. It covers theme development, customization, and troubleshooting in detail. By leaning on trusted sources, you ensure a successful theme installation experience.